Showing posts with label DIY. Show all posts

Friday, January 10, 2014

A Place To Hang My Jewels

Last year when Nick was laid off for a few months he had a lot of time on his hands.   When my birthday came around he decided he would make my gift rather than buy me something.    He had seen me look at wall mounted jewelry displays before and knew I would like something similar.    By finding antique knobs and drawer pulls, along with an vintage cabinet door, he was able to assemble the perfect jewelry display.   It is one of my favorite gifts he has ever given me.  It meant so much that he put so much thought and time into making it.   The only downside was a few weeks after my birthday we were starting to pack up our house to put it on the market.  It didn't make sense to drill more holes in the walls to hang it up (especially since it would need anchors - it's quite heavy).   So I had to wait almost 5 months to hang up, use and see my beautiful birthday gift every day.

Now it's finally up in our bedroom near our closet and above my jewelry chest.   It holds my favorite pieces I wear most often and it makes it so easy to pick out what I want to wear each day.   Not to mention, it's serves as a version of art on our wall.


Wednesday, January 1, 2014

If you can't buy it, build it

Happy New Year!  Here's to 2014!

Our new house is almost double the size of our last house.  Double the size means double the amount of furniture needed.   Moving in itself is costly, so there wasn't much left in our budget for furniture.  We did purchase a new couch, bed and mattress, but that was it.   Nick thought this might be a good opportunity to build our own furniture and save some money.  He had taken a few woodshop classes in high school and he really liked it however, he hadn't built anything in years.    In searching for easy to follow plans, he found Ana White's website.   It's fantastic, with so many options and its fun to see how others, who followed the plans, projects came out .    So far he has built a coffee table and dining room table and plans to try out more.

His first project was a coffee table for our living room.   Here it is unfinished before we stained and painted it.


We saw some where (not sure if it was a magazine or blog) a driftwood color stain and instantly loved it.   We decided to spray paint the legs cream for a two tone look.   The table is the perfect size for the space.

Our next project was building a dining room table.   When we have family over, it can be up to 10 people, so we knew we wanted a table large enough to seat everyone.   The dining room is luckily a long room so we had a good amount of space to work with.

We chose a walnut color stain that would stand out from the blonde maple colored floors.  I just love how its rustic feel pops against the formalness of the room.


It was so nice to have in place before the holidays.  We are using chairs currently, from the kitchen table but soon will have two 8ft. church pew benches on either side.   Can't wait to have those in place.


Monday, May 13, 2013

Winding up the light

Since we renovated our kitchen we have wanted to update the lighting.   When we first moved into our house we did remove the old 90's style canister track light and replaced it with a brushed nickel and glass light.    It served us fine but we wanted something more unique.   Originally, we were planning to make a light out of ball mason jars, yet when we came across this item at a local junk store it screamed "make me into a light fixture".    It is an antique yarn winder,  I'm guessing industrial because to be honest I haven't found anything that looks close to it on the internet.  It might not even be a yarn winder, that is just what the dealer thought.  The best part, it was only $25.


My husband was able to remove the iron rod that went through each of the winders to add the wiring, light socket and bulb.   He has become quite handy with these types of projects.  

I love how it came out, especially the interesting shadow it casts!


Sunday, March 17, 2013

Kitchen - Before and After

Our kitchen is now 99% done and it looks amazing!   It is so much brighter and has the farmhouse look we were going for.   I can't believe we waited so long to make the updates.   In total we re-did the entire kitchen for about $250 (paint, tile and a new range hood).  The cabinet color is Ashes by Behr and the grout is Delorean Gray (I pretty much picked it out because it was called "Delorean").  I love the new kitchen so much and can't wait to start cooking in there more.

Before:  You can see the old wood molding around the cabinets as well as the lovely blue backsplash.  What makes the old backsplash even better was it was black tiles that were painted blue with painted on "grout" lines, ugh!  You can see we also briefly thought of a tin panel backsplash a few years ago and never took it down.  Yup, so this is what we lived with for the last four years!


 In progress: 


 After:


We just have a few minor touch ups left to do.  We need to re-paint the window frame and add a new piece of molding underneath it.   My husband also wants to make a mason jar light fixture for the center of the kitchen ceiling and we want to find a new rug.   

Saturday, March 2, 2013

Shades of Gray

Our current cabinets are white, and by white I means slowly turning more chipped, yellowed and scratched up.   We haven't done much to the kitchen at all since we moved in four years ago.  Originally, there were large pine colored square knobs on all the cabinets.  Within weeks we bought brushed nickel knobs and pulls but never got around to re-painting.  There is also wood color molding around cabinets, it makes the kitchen look dated. The whole time we had planned on painting them white.  However, the other day my husband mentioned painting them antique white.  I wasn't too crazy about it, we have a lot of bright white and I thought it would clash.   When he went out to get some paint chips for the antique white he picked up some grays as well.   I don't know why we hadn't thought of gray before hand but we loved it!  We bought a few samples to try out,  two were too dark, the third was perfect, Ashes by Behr.   It wasn't too dark and not too light.   Our kitchen is open to the dining room and living room which are all painted a pale gray (Titanium by Benjamin Moore).   By painting the cabinets a darker gray I think it will really make them stand out.

We chose the color on the right:


Also, I will finally get to incorporate some white subway tiles, every kitchen with them looks amazing!   I think the white will help break up the grays in the kitchen (between the cabinets, stainless steel appliances and the walls, it is a lot of gray).   We also realized we had some black, gray and glass colored tiles left over from our bathroom remodel that we originally planned to use for a backsplash.   By splitting them up into two rows we will be able to make a border that goes around the entire kitchen.
 

My husband is going to start the kitchen next week,  can't wait to see what it will look like!

Saturday, February 23, 2013

Bird Bath Project

I never posted this completed project from early fall.   In September we went to a local craft fair.  There was a vendor with some amazing bird baths made from table legs and old glass/porcelain bowls and dishes.

Here is the one we bought.


The vendors had a witty little sign that said "Yes, you could make these, but will you?".   I guess we saw that as a challenge.  The next day when we were at Todd's Farm we headed to the $1 junk yard section and low and behold there were table legs and crates overflowing with dishes.  Nick said to me, well we could make some bird baths!

We bought 4 table legs and 4 bowls.


This one is my favorite... how perfect is it!


And here are the finished bird baths:


Monday, February 18, 2013

Dining Room Update

Wow, I can't believe it has been so many months since my last post!  In the fall I was so busy with work there wasn't a lot of time for antiquing, thrifting or blogging for that matter.  I can't wait for spring to come so I can get back out there again.  

In the meantime we did end up getting a wool braided rug from LLBean for Christmas from my parents.   While I originally wanted to get a blue/green/yellow one, my husband thought it would be too "matchy matchy".   We ended up going one with red, greens and touches of yellow and blues.  It helps add some other colors into the room.  We love it so much we are saving up to buy another braided rug for our living room.

Here is the whole dining room put together with the chairs we painted and upholstered ourselves, the Brimfield table (with one leaf in) and our vintage hutch.  


Sunday, September 2, 2012

Last Two Chairs

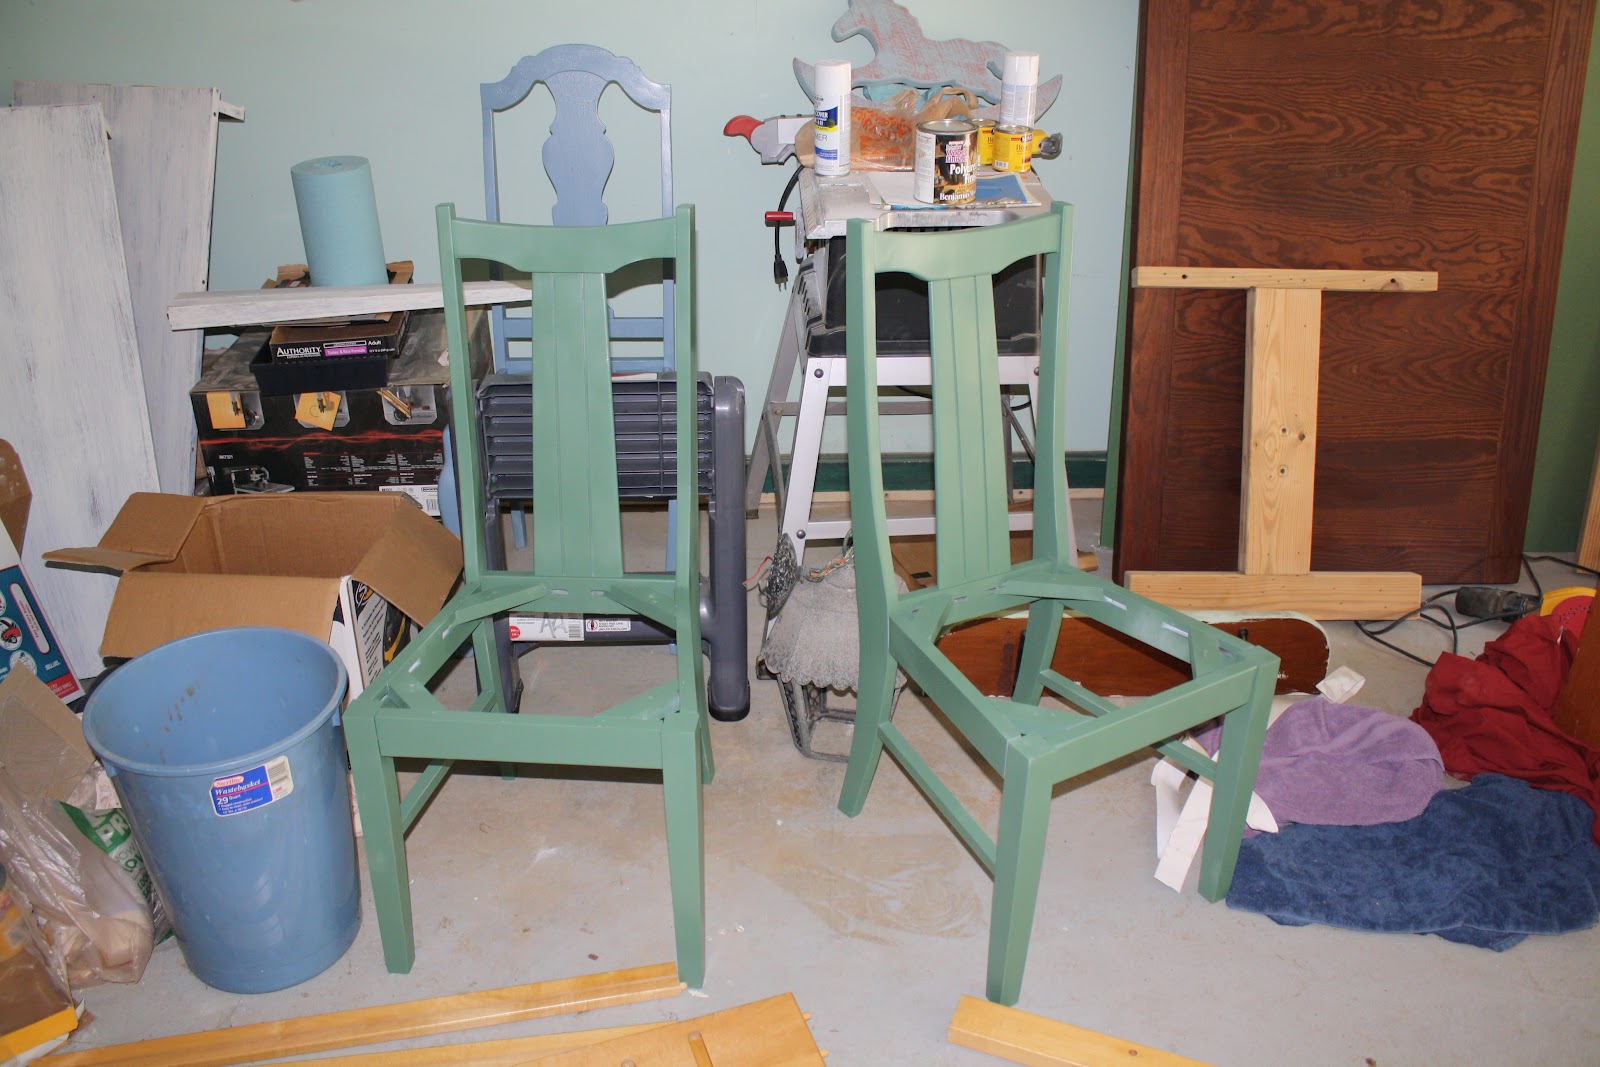
We finally found 2 more chairs for our new dining room table about a month ago.  My husband found them on the side of the road for free on his ride home from work.   Although they do not match the style of the other 4 chairs they are a similar size.  We also liked how they were a bit more modern to off set the ornate style of the other 4 chairs.


We knew we didn't want to paint them blue like the others.  We thought about yellow however I thought I was starting to copy the Country Living cover a bit too much!  Instead we went with an almost hunter green color (its darker shade than it looks in the pictures.  We are upholstering the seats in the same striped fabric as the blue chairs.  Pictures of the whole table set up with the chairs will be coming soon.


On another note... our garage is starting to look a bit scary with all our projects we have going, eek!  Definitely need to tackle that before fall!

Thursday, July 19, 2012

Dining Room chairs - Before and After

Now that we have the four chairs spray painted for our new dining room table, we have been looking for fabric to reupholster the seats with.   The chairs originally had a stained and worn beige and what I would call "dusty" rose color floral pattern fabric, definitely not pretty.


We narrowed down to our three favorites (all from JoAnn Fabrics):


Waverly Carino / Buttercup - Definitely one of my favorites.  It also comes in blue which would work well with two yellow end chairs.  However it might be a bit too much of a mustard yellow. 


Waverly Porch Swinger / Chambray - The stripe is classic,  love how it's called Porch Swinger.  The blue matches almost perfectly to the chair.


Waverly Language Of The Garden Ballroom Plaid - I really like the plaid but the blues look a bit off and it might be slightly a too country kitsch for my taste.


We ended up going with a pattern very similar to Waverly's Porch Swinger and we love it. 

We spent yesterday upholstering two of the four chairs (one of the wooden seats is cracked so we need the 3rd chair as a sample to trace a new seat seat).   I have never upholstered anything in my life so it definitely was an newbies's attempt.  Not perfect but I think overall a vast improvement to how the chairs looked before.   The fabric was exactly what we were looking for and just so happens to almost match the fabric on the Country Living cover that was my inspiration!